

November, 2016
now browsing by month
TOY STORE TUESDAY!!
Today is the first edition of TOY STORE TUESDAY!
I LOVE TOYS. I love researching them, buying them, and okay, I’ll confess it- I love playing with them. What I hate is buying a stupid, badly thought out, or cheap toys. I call these toybox fodder, because they end up in the bottom of the toy box, a worthless pile of plastic
Because I run a daycare I basically get paid to play with toys and watch kiddos play with toys. I thought it would be fun to include toy reviews to help you out with your holiday shopping.
For this review, I chose Fisher Price’s Double Poppin’ Dino. I saw this one at Costco, and had to try it out.
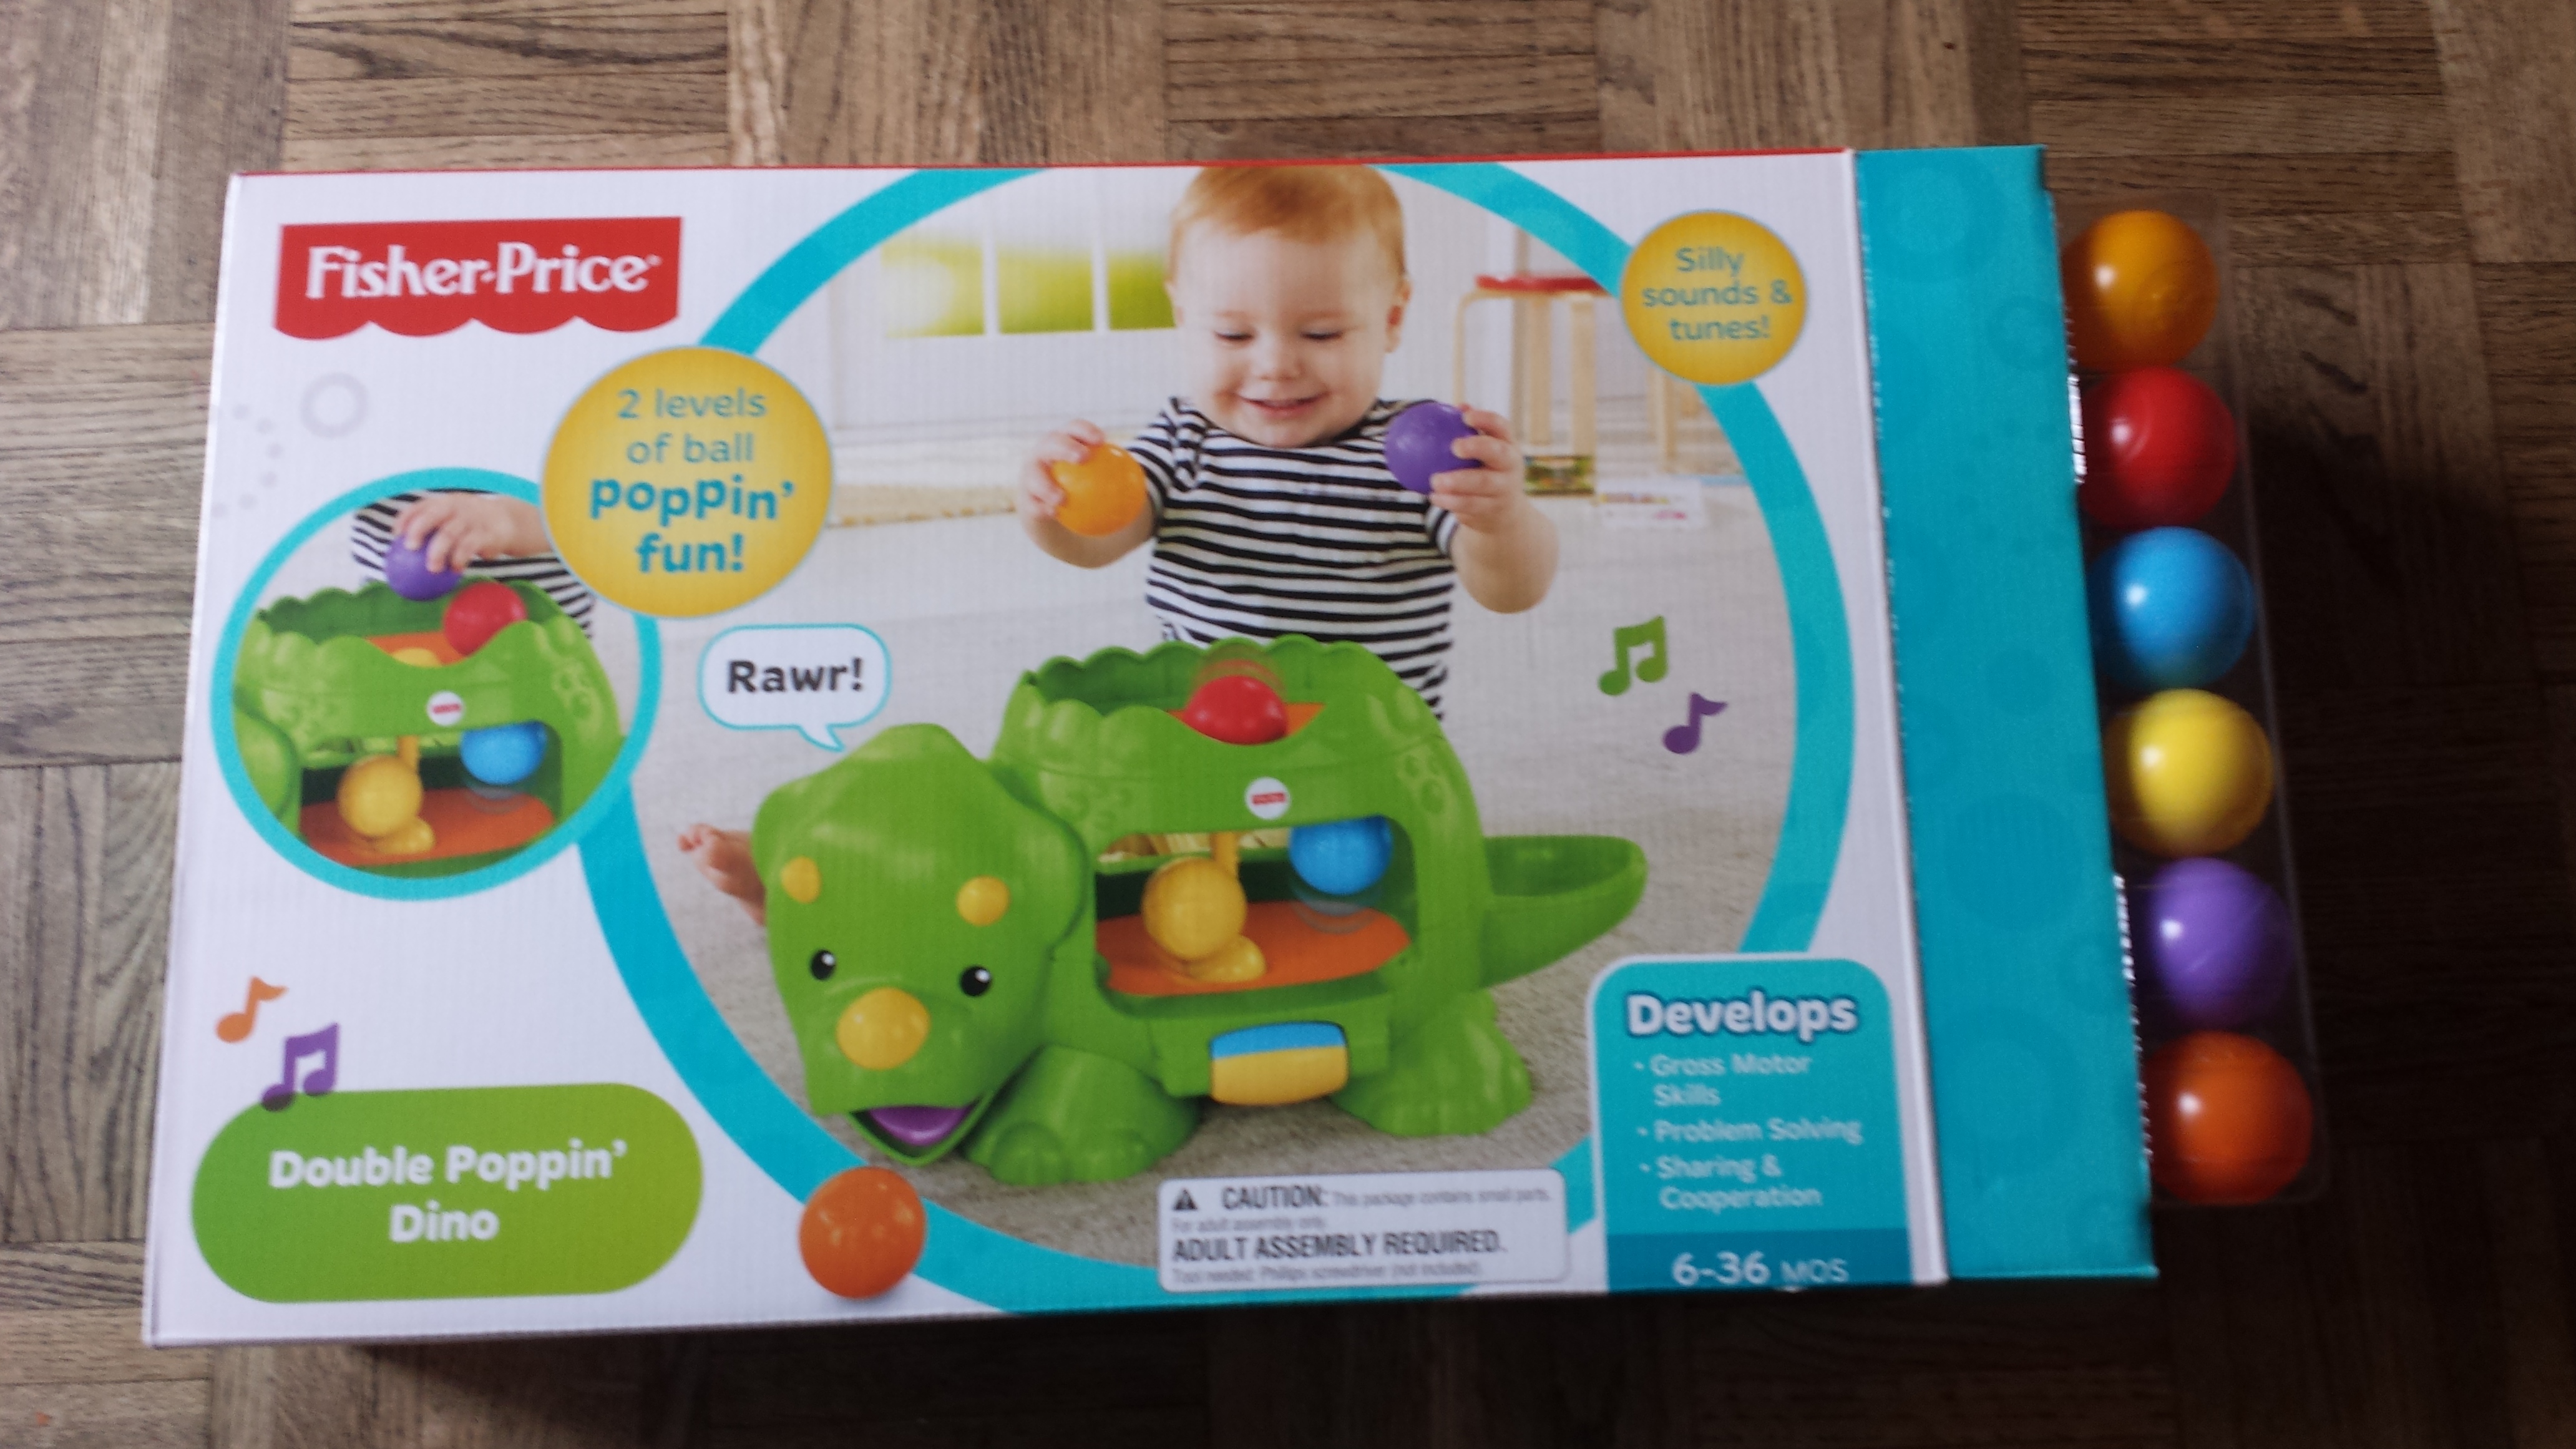
To sum up this toy, it’s a cute little dinosaur that plays music and has a little mechanism inside that pumps balls up and down, bouncing them around. It has two levels to put balls on and comes with six different colored balls. They balls also roll out of the dino’s mouth. There is a roller in the front, making it easy for little ones to operate without adult help and a blessed on/off button for those days when crazy kid music needs to be silenced. Fisher price has a few different varieties of these- a blue dinosaur and a hippo, that I know of. I really like the ease to the balls and the two tiers of ball popping.
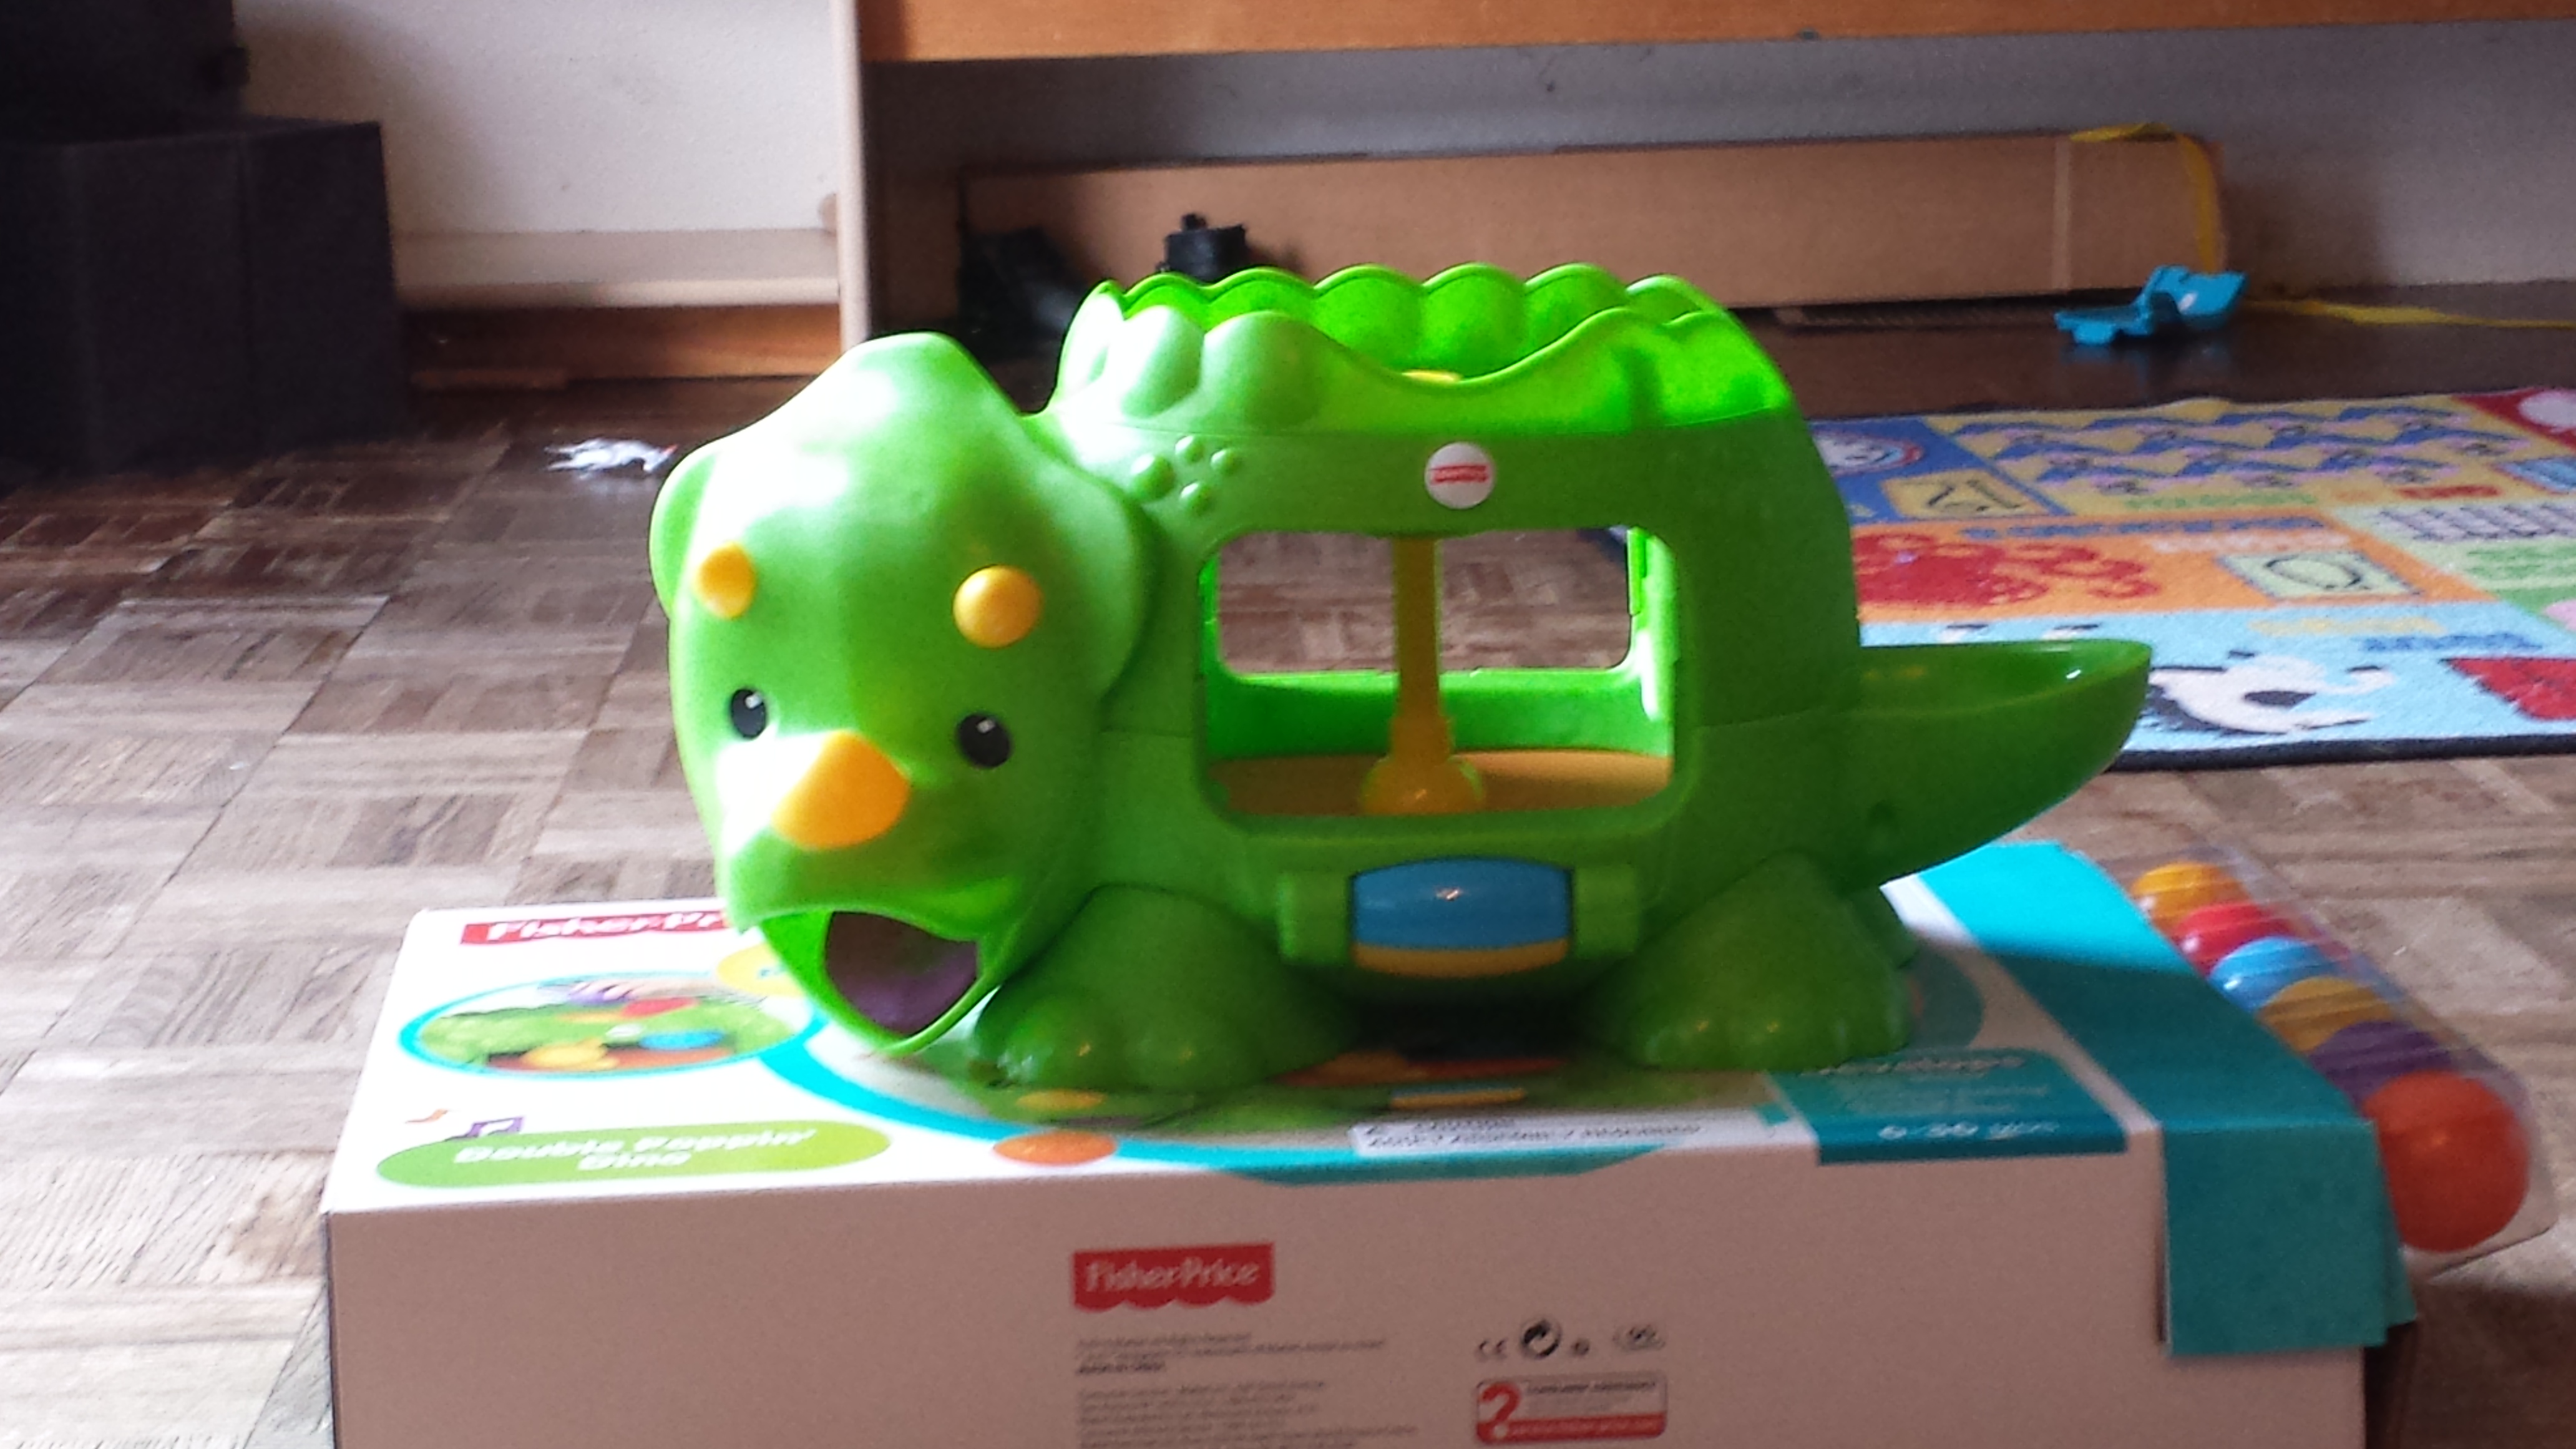
Sorry the picture is a little blurry – I’m a really lousy photographer. 🙂
COST- $ $ I checked a variety of different places. They first thing you should know about this one is that the price varies A LOT. Anywhere between $17 dollars and some change to around $35.00. (Amazon seems to have the best deal I could find and you don’t even need to leave the house. Whoo hoo.) **It does take 3 C batteries though, so add that to your cart so you don’t forget them.
AGE- This is listed for ages 6-36 months. (I won’t even get started on why I think people should stop referring to ages in months after 1 years old, but that is what it says.) This age limit is accurate, although even older kids will play with it too.
EASE OF ASSEMBLY- You guys, this one is awesome! It takes like three clicks and a screw and you’re golden. Very well thought out plan. Fifteen minutes, tops- but you do have to find a screwdriver. Honestly, that part took me the longest to do.
QUALITY OF MATERIALS- LOVE IT. Solid and sturdy. Great colors and this little guy can take a beating. It need to because this toy will get plenty of action.
OVERALL IMPRESSION AND RATING * * * * *
Five stars!! I love this toy. If you’re purchasing it for a relative I wouldn’t give it to anyone over 2 because it will seem like a baby toy, but I know for a fact that my four- year-old’s will play with it, and even some of my older kids. The two-year-old’s LOVE IT! I has a great song that comes on when a wheel thingy in the front gets rolled and the balls jump around like crazy, leaving them cracking up. They play with this thing for hours.
**The only downside at all is that the balls roll out so easily that they get lost. Best if played on carpet, so they don’t roll so far away. Especially for crawlers.

Thank for taking a look at my first toy review. I love it if you’d leave a comment and let me know if it was helpful for you. Also, you still have time to enter the drawing for the Miracle Maker movie by signing up for the Newsletter. Don’t be afraid. I know we all hesitate to give out our email because we’re drowning is spam, but I promise this one will be painless. They’ll have great info about books and book deals, as well as some inside info, and will only be about once a month.
Amazingly Easy Holiday Project
For today’s blog post I enlisted the help of the amazing Christie Millet and her super-powered craft skills. She has come up with a fantastic craft to give a boost to your holiday decorating. I LOVE this project because it is easy on the budget as well as just plain EASY! Take it away Christie-
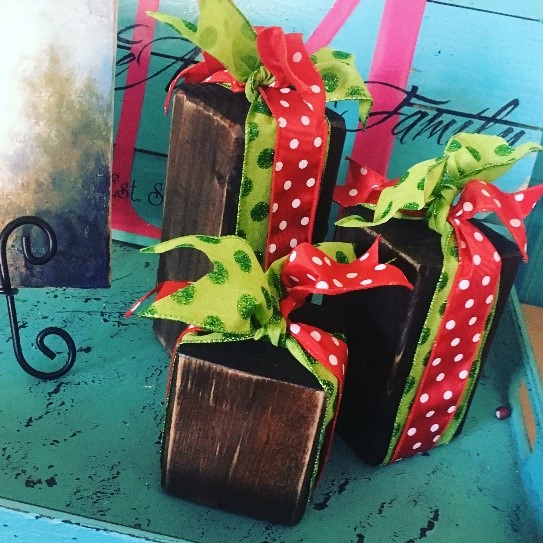
Holiday Present Blocks
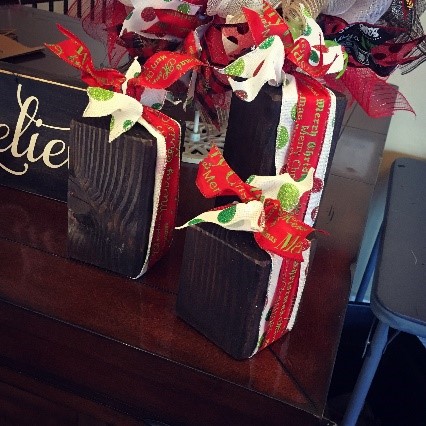
These adorable blocks are both fun and simple to make, and they dress up any holiday decor!
All it takes is four easy steps.
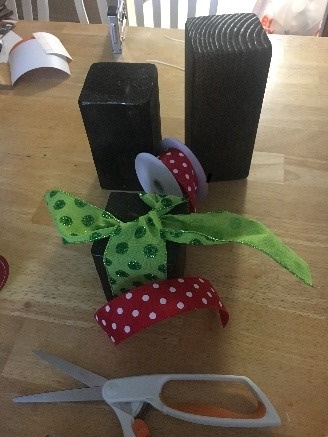
1. We went to the local Home Depot for supplies, here you see a 4 x 4 that has been cut in 3, 6, and 9 inch increments.

2. Next you will want to paint or stain the blocks. For our project, we used both Wood Stain which we purchased at Home Depot and Chalk Paint we bought at Walmart.

3.Once they are dry, tie the ribbon on. I love ribbon, it always adds just the special something to a project. Here you can see we added it to the block before cutting so we could get just the right look. We also used two different ribbon styles and colors. The best thing to do is add the ribbon you love because the ribbon is the pop in the project.
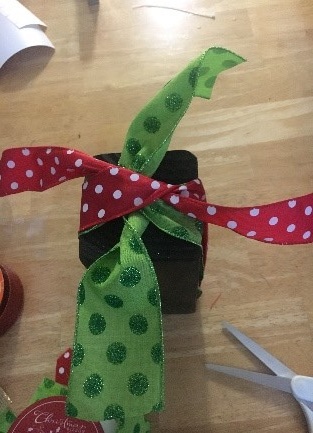
4. Here you can see the finished block. To add a little bit of flair, we sanded the edges and a bit towards the middle. Then they were then sealed with Modge Podge.
**The ribbon is dove tailed on the ends. Love it, but not sure how to do it. Don’t worry- I’ll show you how in my next post.
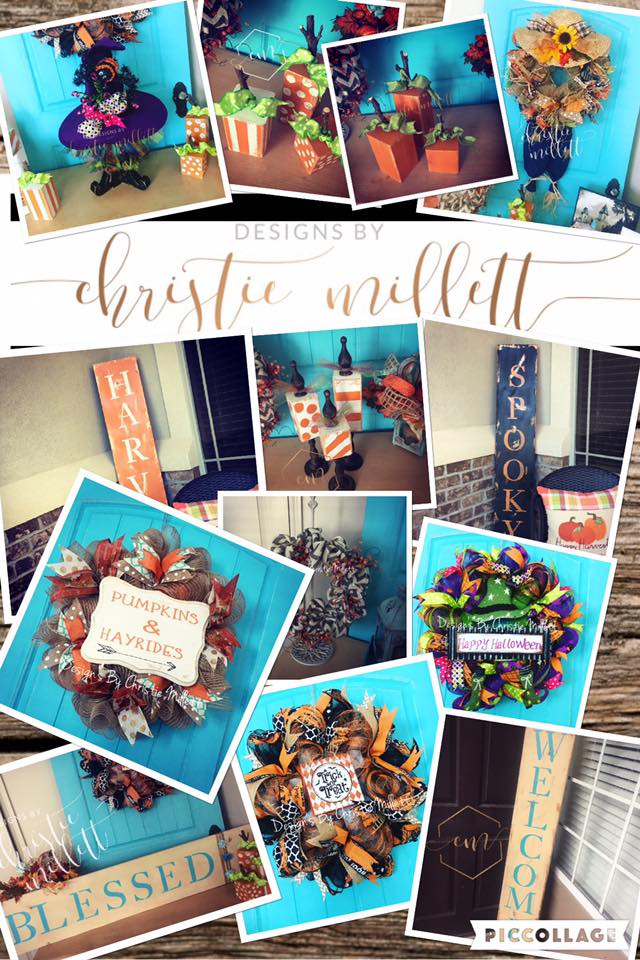
– Christie Millet/ Owner of Designs By Christie Millet.
If you guys love her stuff as much as I do, head to her Facebook store
https://www.facebook.com/designsbychristiemillett ( I couldn’t get the link to work, but it will pull up easily and is taking a minute to do some shopping. One less trip to the store for presents.)
We are still looking for entries for the Dec. 1 drawing for a copy of the Miracle Maker movie. To have a chance to win all you have to do is sign up for the newsletter below.

HOME FOR THE HOLIDAY DAY 1
The Miracle Maker coming out in full-color illustration has been a dream come true. To celebrate I decided to fill the next few months of posts with gloriously-good food, decorations, and holiday tips. I call it “HOME FOR THE HOLIDAYS”. For the first holiday blog post I decided to skip straight to dessert. Those of you who know me aren’t surprised by this, and of course it’s chocolate.
This is one of my family’s go-to desserts with a little extra holiday flourish. If you have a pot luck event, or holiday company this recipe is sure to get oohs and aaahhs.
TURTLE BROWNIE TEXAS SHEETCAKE
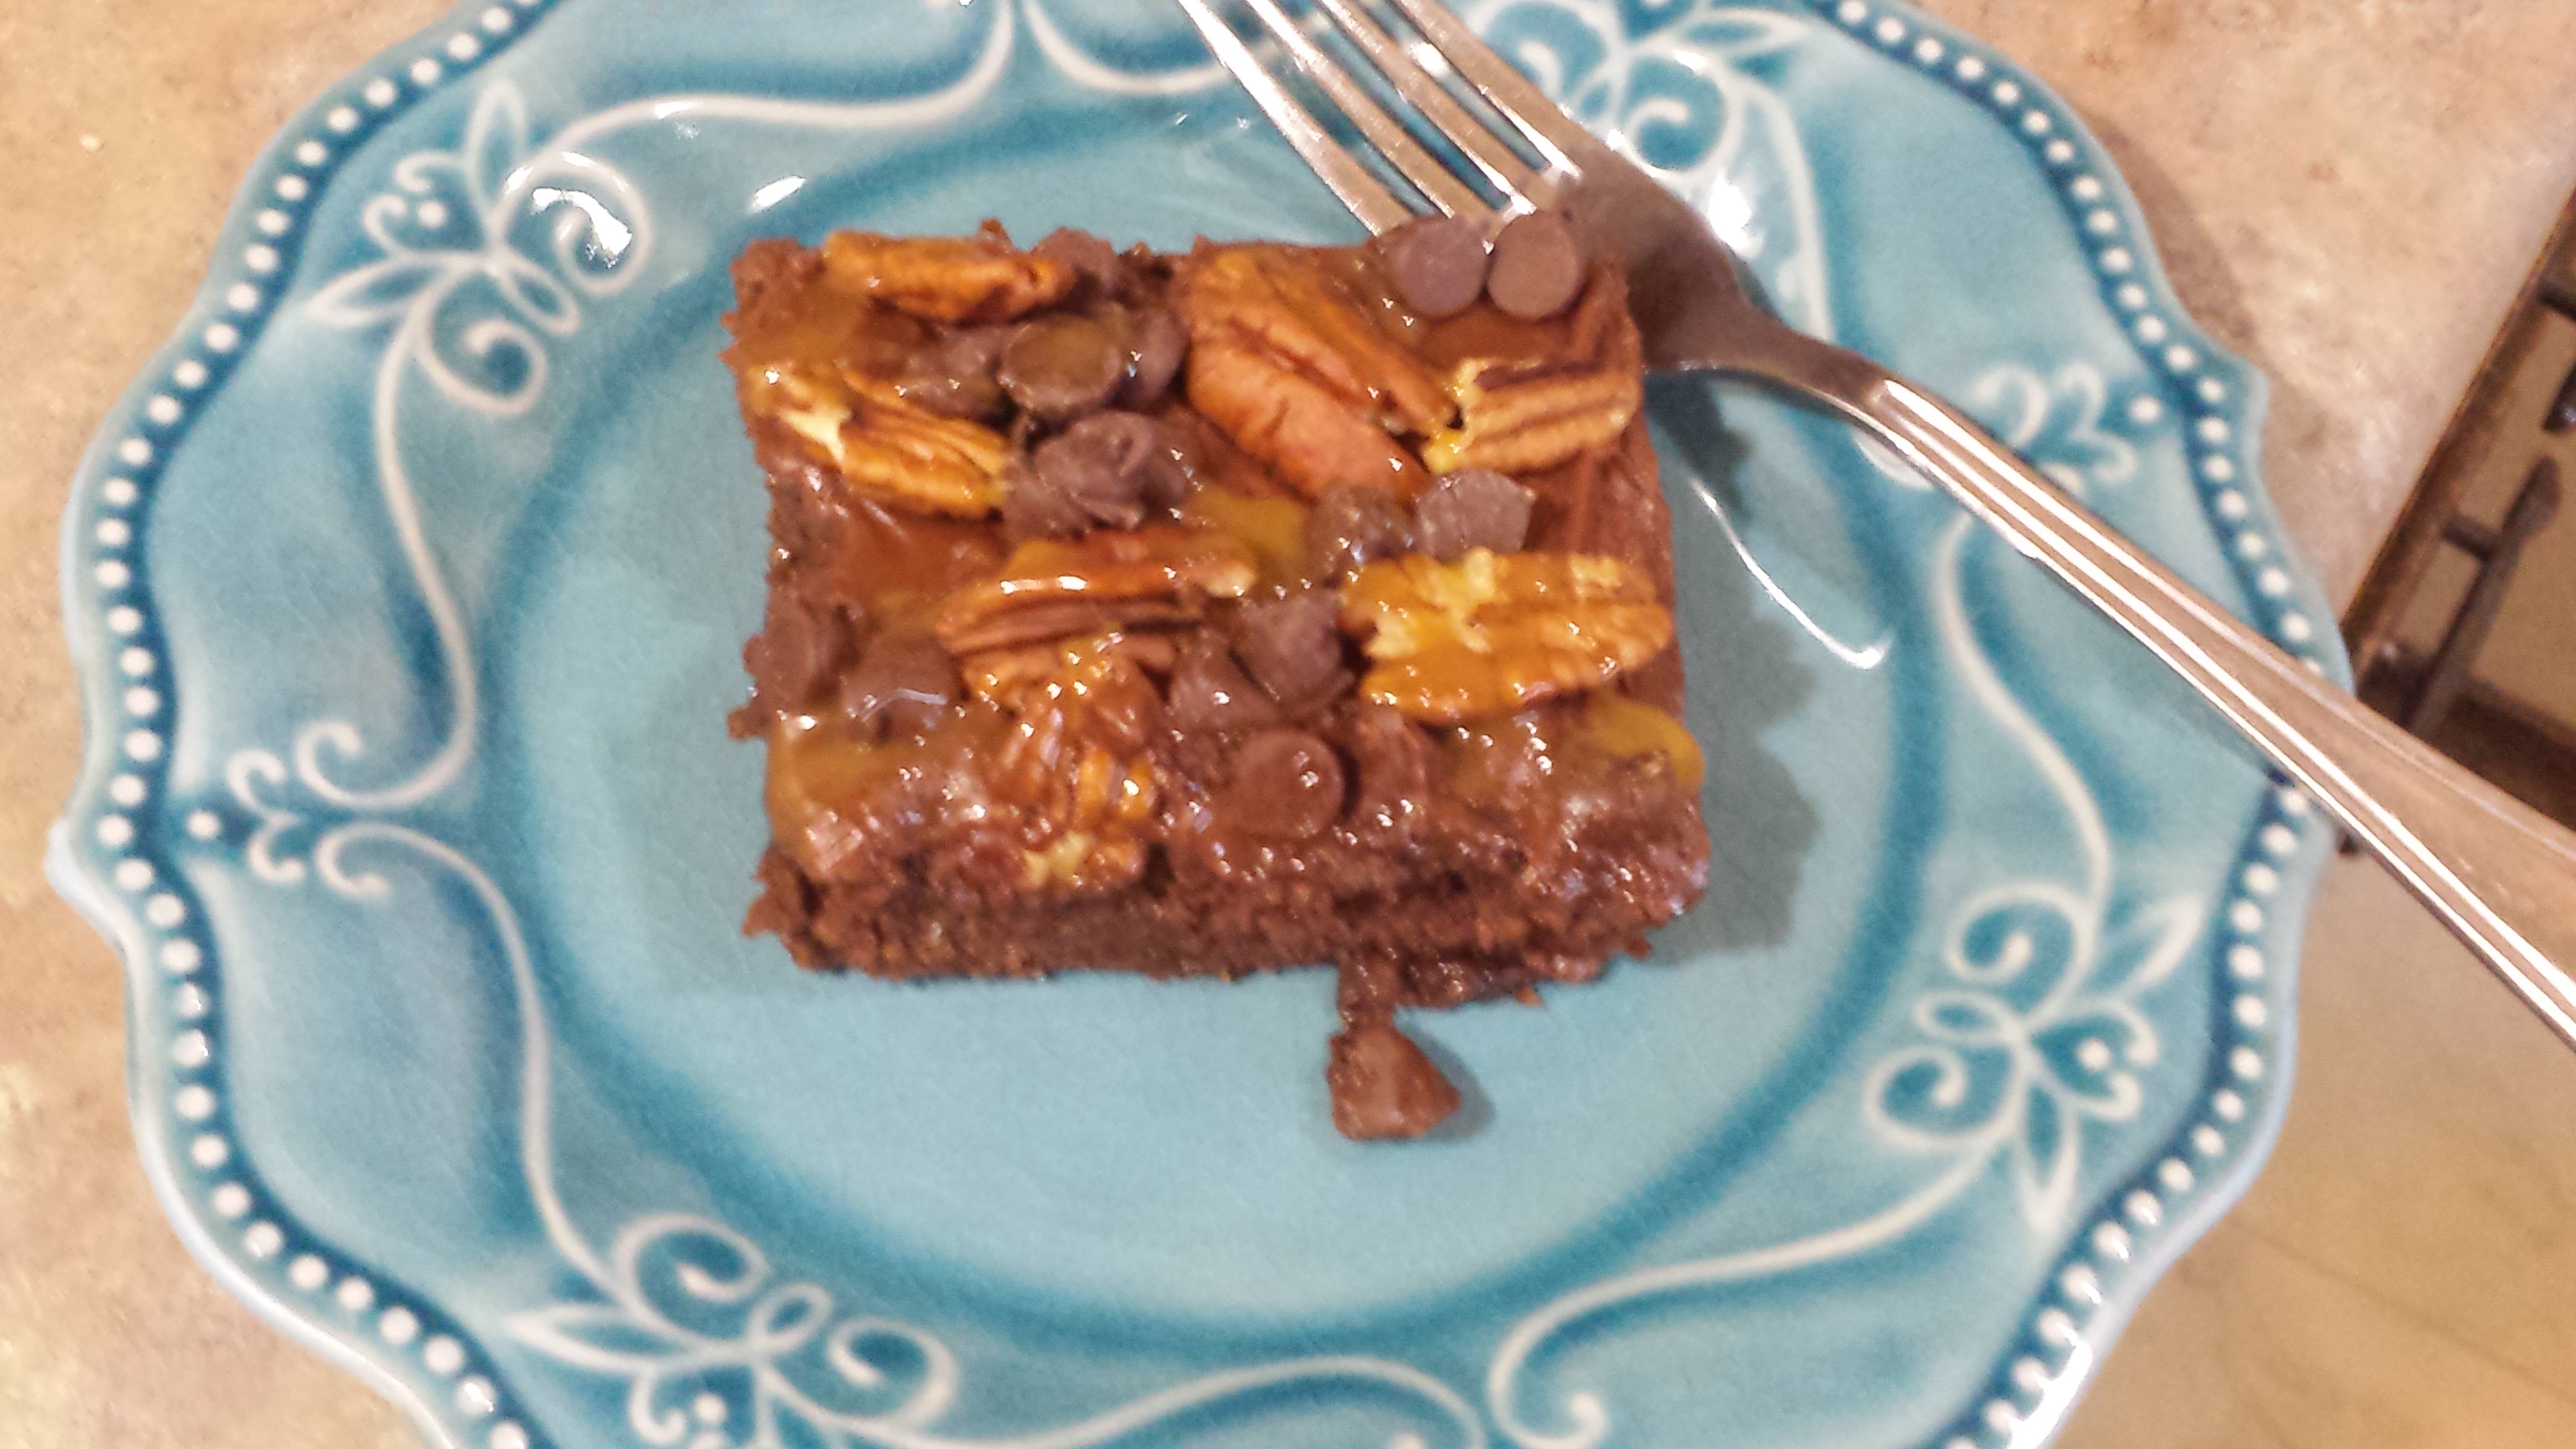
When I was young, my brother Russell, (*waves wildly- “Hi, Russ!”) brought this cake recipe back from Missouri. I grew up calling it “Russell Cake”. Until I was married, I didn’t know Texas Sheet Cake was even a thing. By any name you want to call it, it is DELICIOUS. I don’t make it too often, because I will literally eat the entire sheet pan of it by myself. I’ve added a special turtle topping to make it holiday spectacular.
It’s a super easy cake to make, and one of the great things about this cake is that you get to ice it hot- so no waiting around for it to cool. The caramel topping tastes delicious, but it does start to break down the frosting after a day or so. (If it’s even possible to have leftovers.) Just one more reason to eat it quickly.
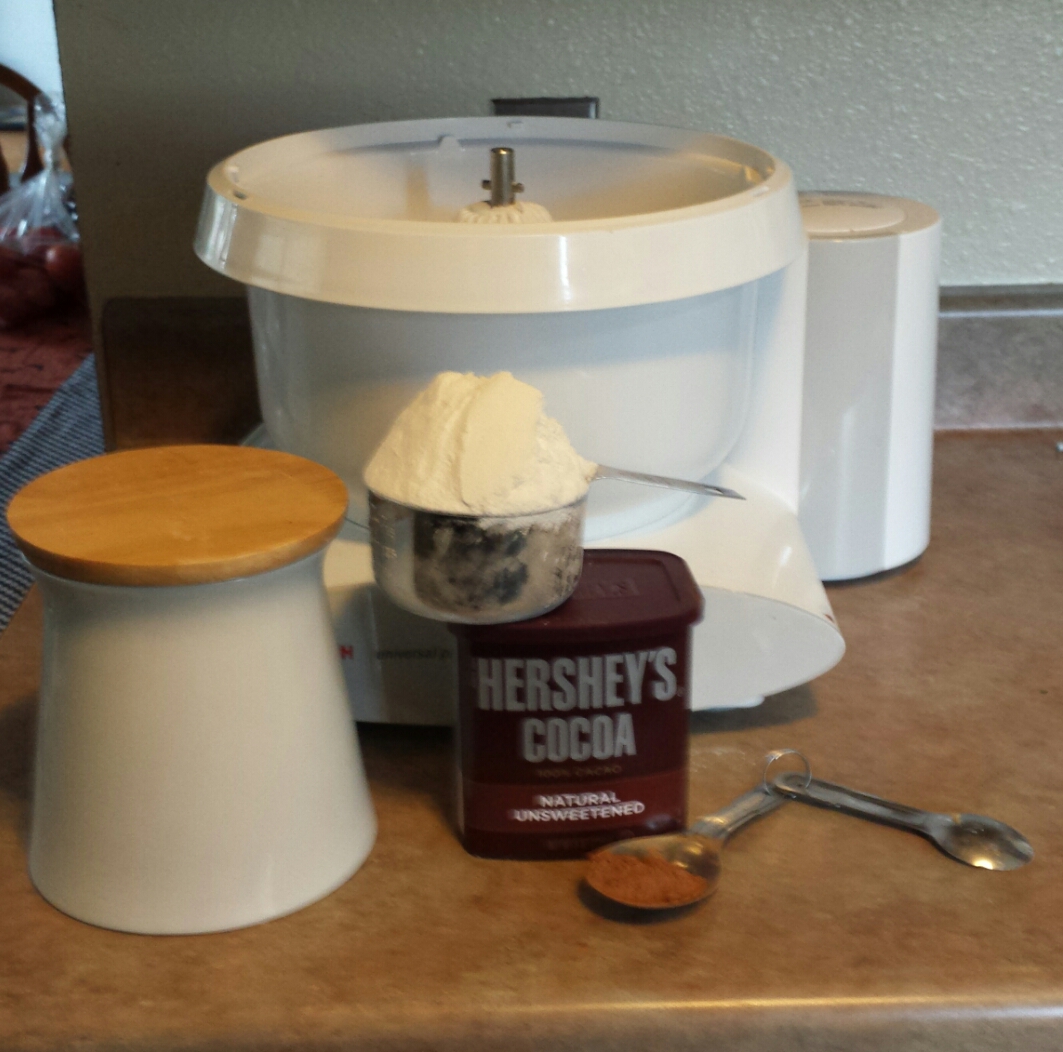
Ingredients:
2 cups flour
2 cups sugar
1 tsp soda
½ sticks butter
1c water
2 beaten eggs
½ cups buttermilk (If you don’t have buttermilk use 1/2 tsp vinegar in regular milk)
1 tsp vanilla
4 Tblsp cocoa
Turn oven to 325 degrees.
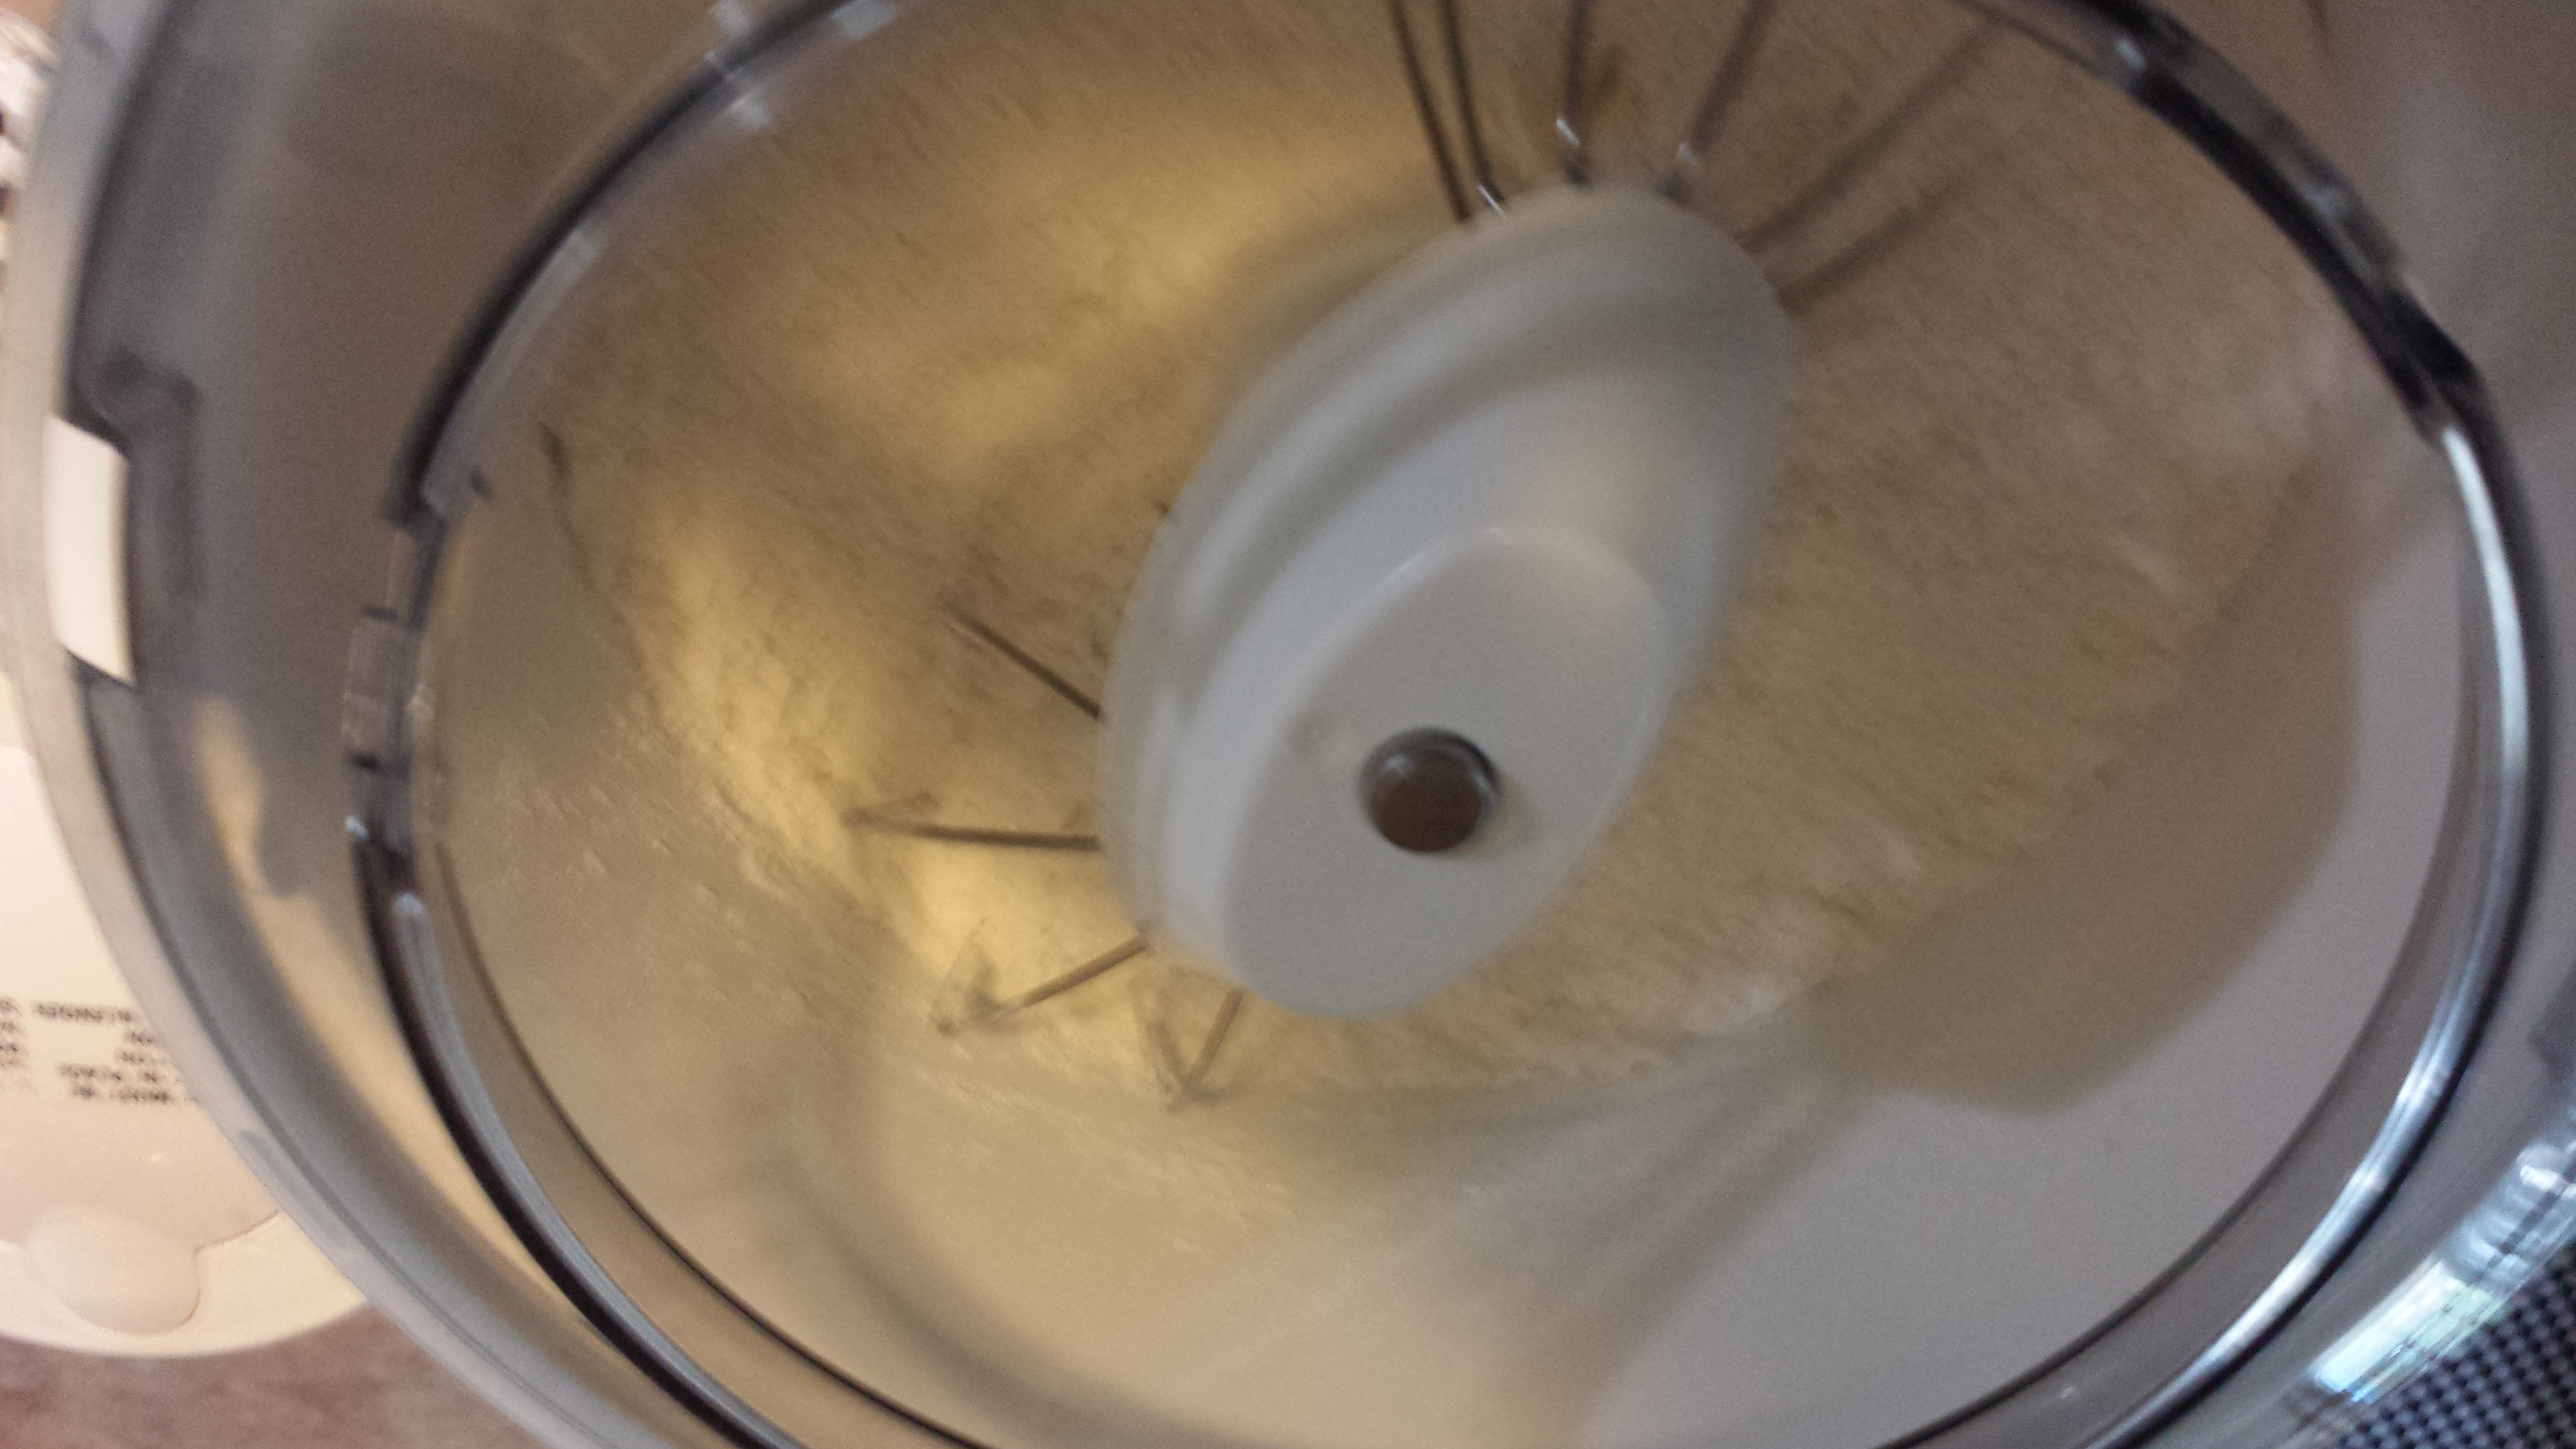
STEP 1
Sift together flour, sugar, soda, and cinnamon. Set aside.
STEP 2
Bring to low boil butter, cocoa, and water. Add to dry ingredients while it is still hot.
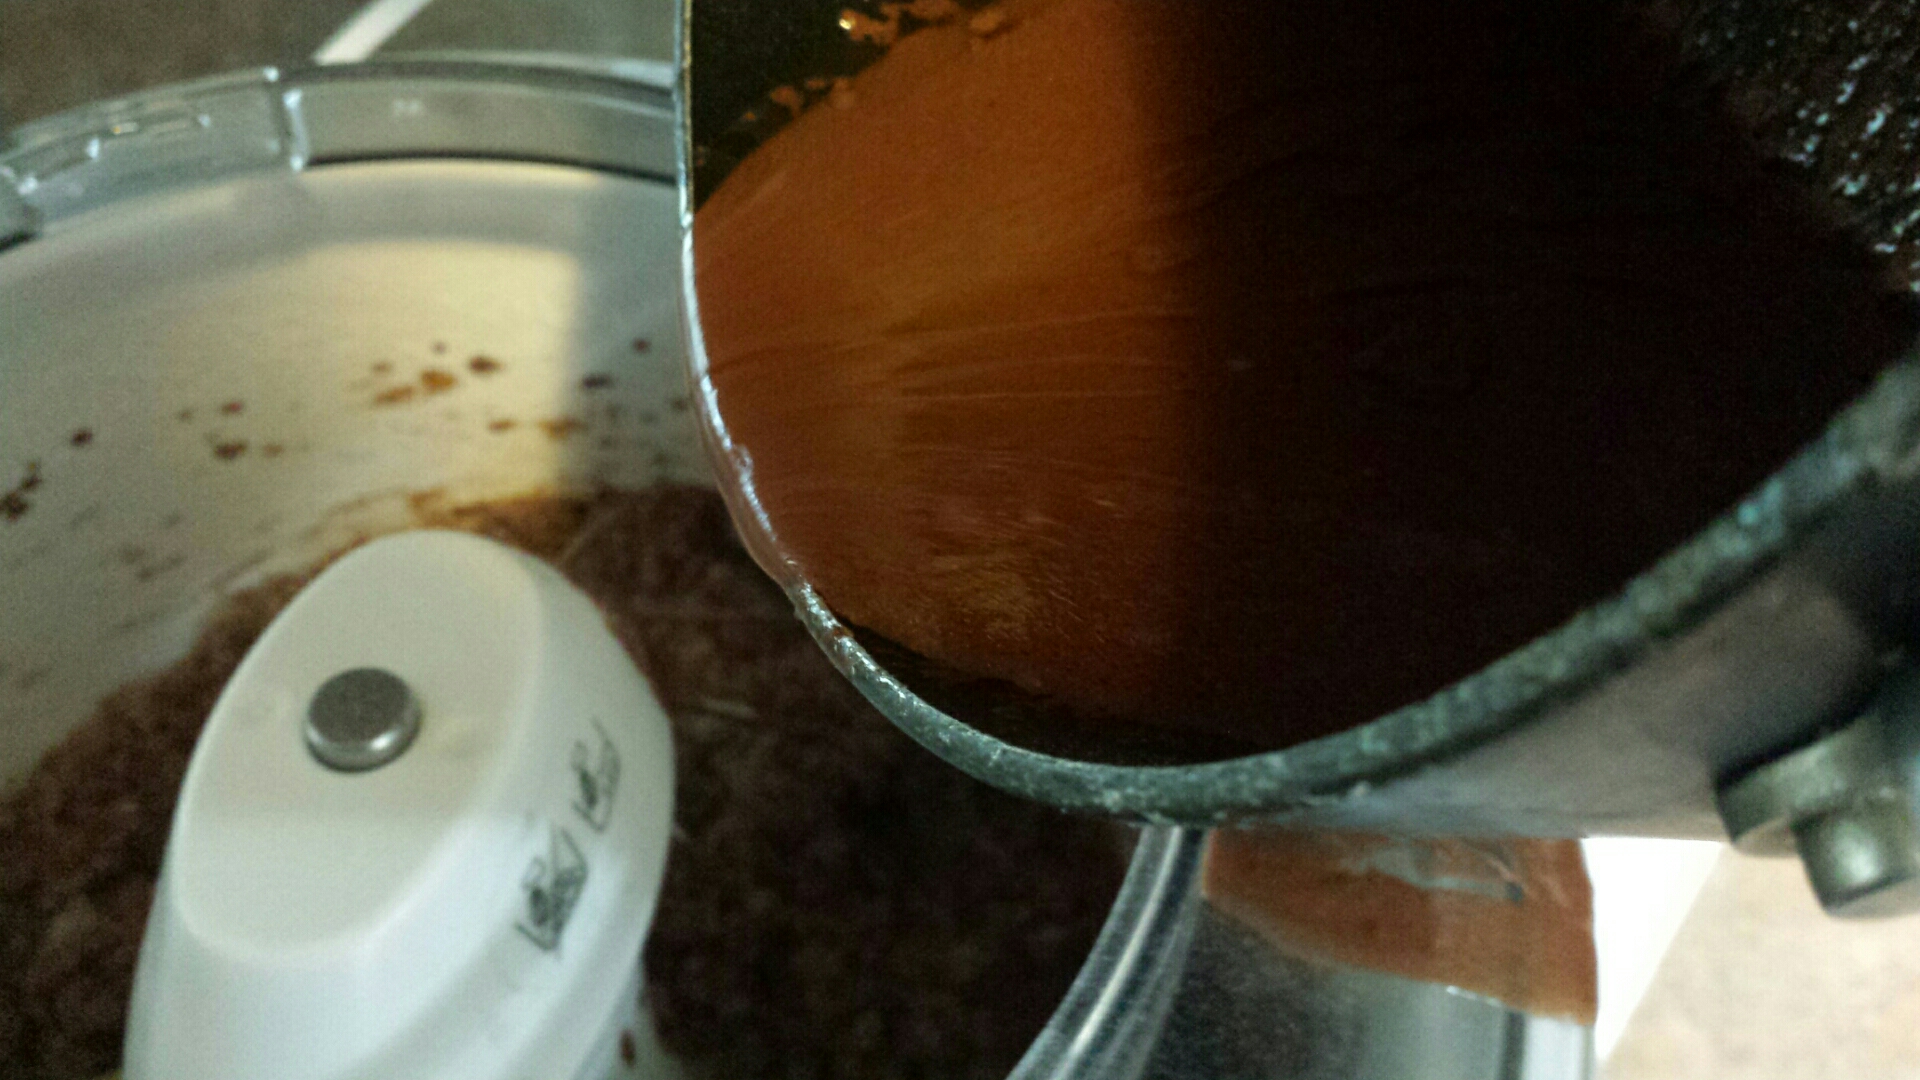
Add eggs and buttermilk and vanilla.
Bake in a greased jellyroll pan at 325 for 20 minutes.
Frosting- (Again frost while the cake is hot.)
1 stick butter
4 Tblsp cocoa
5 Tblsp milk
1 Tblsp vanilla
1 lb powdered sugar
Bring first three ingredients to a slow boil. Add vanilla, then slowly add powdered sugar, beating until smooth. (It can get clumpy if you’re not careful) Frost as soon as cake comes out of oven. For the Turtle version continue to the next step.
Top frosted cake evenly with:
1 cup of chopped pecans
1 cup semi-sweet chocolate chips
1 cup caramel sauce (put this on last after everything is cooled.) I prefer a salted caramel variety, but that is purely a taste preference. Squeeze bottle versions are the easiest to use.
Just don’t let it get too gloppy. It’s prettier if you keep circling it lightly.
Happy baking!! Don’t forget, if you haven’t entered the contest for the Miracle Maker Movie, by joining the newsletter list, you can do that at the bottom of this page. The drawing is Dec. 1.
Happy November!!
I have always loved fall, but now I have an even better reason. MIRACLE MAKER IS OFFICIALLY OUT IN COLOR ILLUSTRATION. Wow that’s a lot of caps. But yes, if you were here I would be yelling from the rooftops. It’s been an incredibly long road, but I am so please with the way it turned out.
Now that it is November, we can officially settle in and embrace the holidays. We can look forward to Grandma’s pumpkin pie, visits from extended family (with all the crazy that brings), cozy nights by the fire, and of course holiday movies and stories.
For the next few months this blog is going to be all about the holiday season. I have some easy craft ideas, gift recommendations, Toystore Tuesday’s (where we review some great toys), and of course FOOD ideas to make your celebrations fun and festive. I am also starting a Newsletter subscription where I’ll give updates on new writing projects and events as well as fun giveaways and book deals. To kick it off I am going to have a giveaway for the Miracle Maker Movie. To enter in the drawing all you have to do is sign up for the news letter at the bottom of this blog post. It’s easy and painless and I promise never to sell off your info or send you a bunch of junk mail.
->
 D5 Creation